
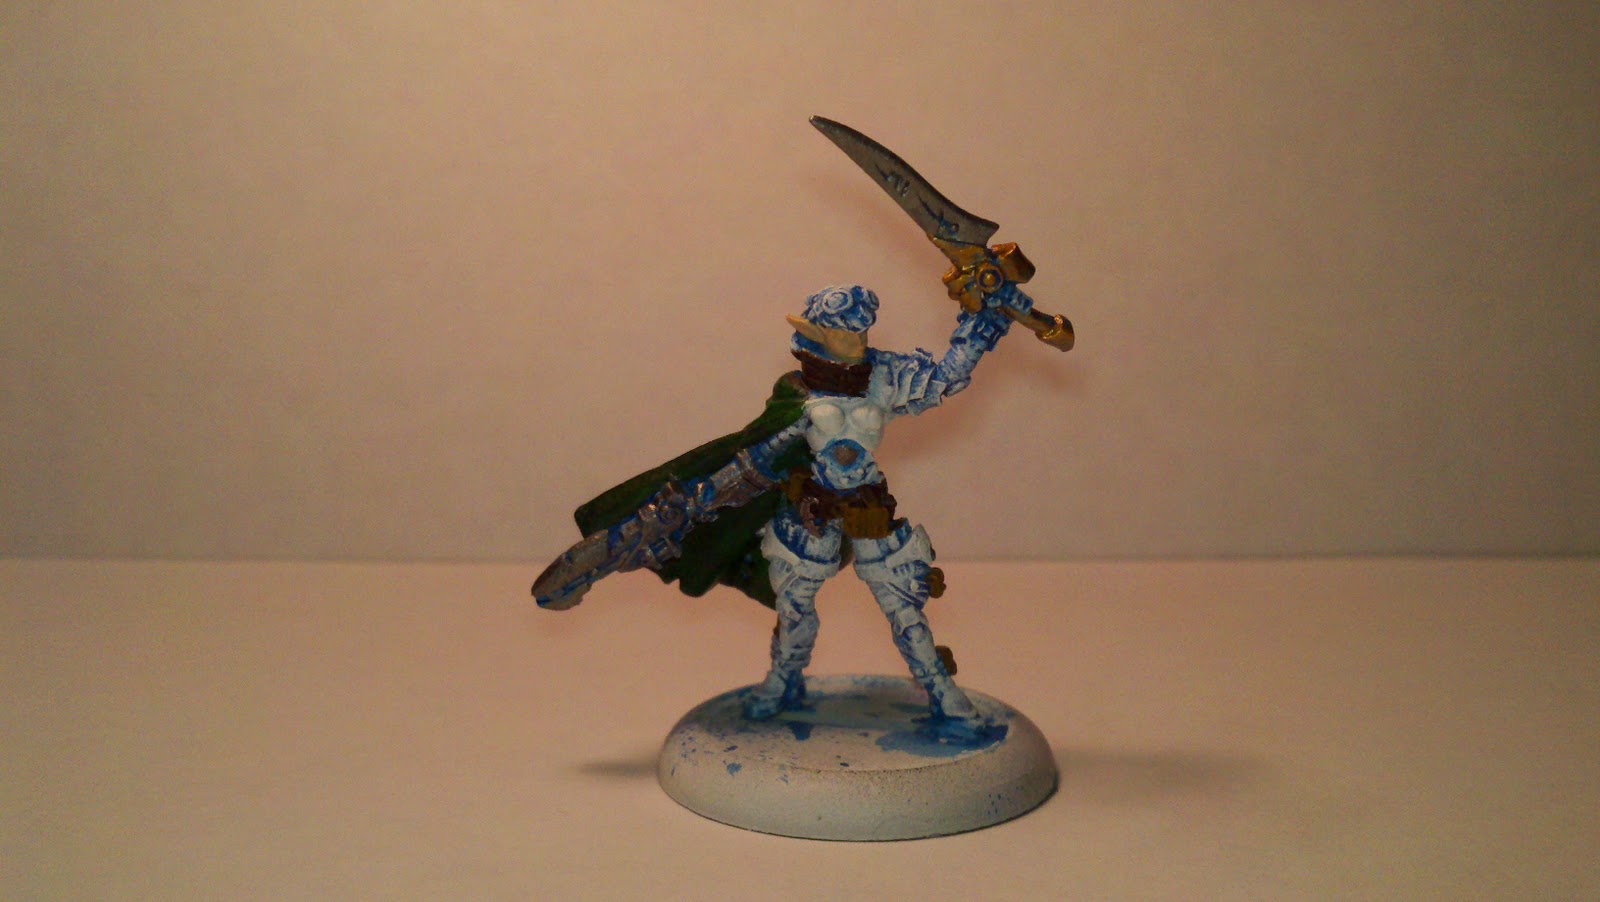
Next up was to color the non-armor items. I used Boltgun Metal on the rifle and the sword. I was able to keep some of the blue undertone while painting these and I think they turned out really well. I also used a green on the cloak, but was able to keep blue in the divots which gives it a really nice look. I also painted the breast plate a little more solid white in order to solidify the look. Now looking back at it, I wish I would have left it alone. The night in which I completed the dry brushing, I was really not happy about the look and thought I would hate the model. But the next morning, I looked at it again and the look really grew on me. I am very happy with the model now.

The next step was to complete the base. I also noticed that I had not painted the goggles. So I painted them before working on the base. I also forgot to paint around the base which I regreted later. It turned out looking good, but a lesson for me in writing down the correct order to make sure I do not miss steps. For the base, the first step was to put tape on the base to cover the open parts of the slot.

After this I put down a layer of Elmer's glue. I use a toothpick to spread out the glue. I know some people use a 50/50 of Elmer's and water. I tried that on one of my models and did not like how well the material stuck to the base. So I am sticking to 100% Elmer's.

After the glue has been well spread, I start to pile on the material in a Tupperware tray. I press down over the entire base to ensure that I have it well covered. I also use the toothpick to press down the material especially between the legs to make sure it is covered well. Once the material is on, I use the toothpick to get the excess out off of the base. I then stick the model in a small paper bag and spray it with a compressed air can. This gets all of the loose material off of the base.


I am very happy how the model turned out. To have it finished working only a little bit on it in the evenings each night over a three night period is very exciting for me. Putting together this blog has helped me greatly in motivating me to complete other models I have. The smaller models are a challenge, but can be fun. My next model to paint is the Artificer and should be a challenge. I can't wait.
No comments:
Post a Comment